Category: Use
-
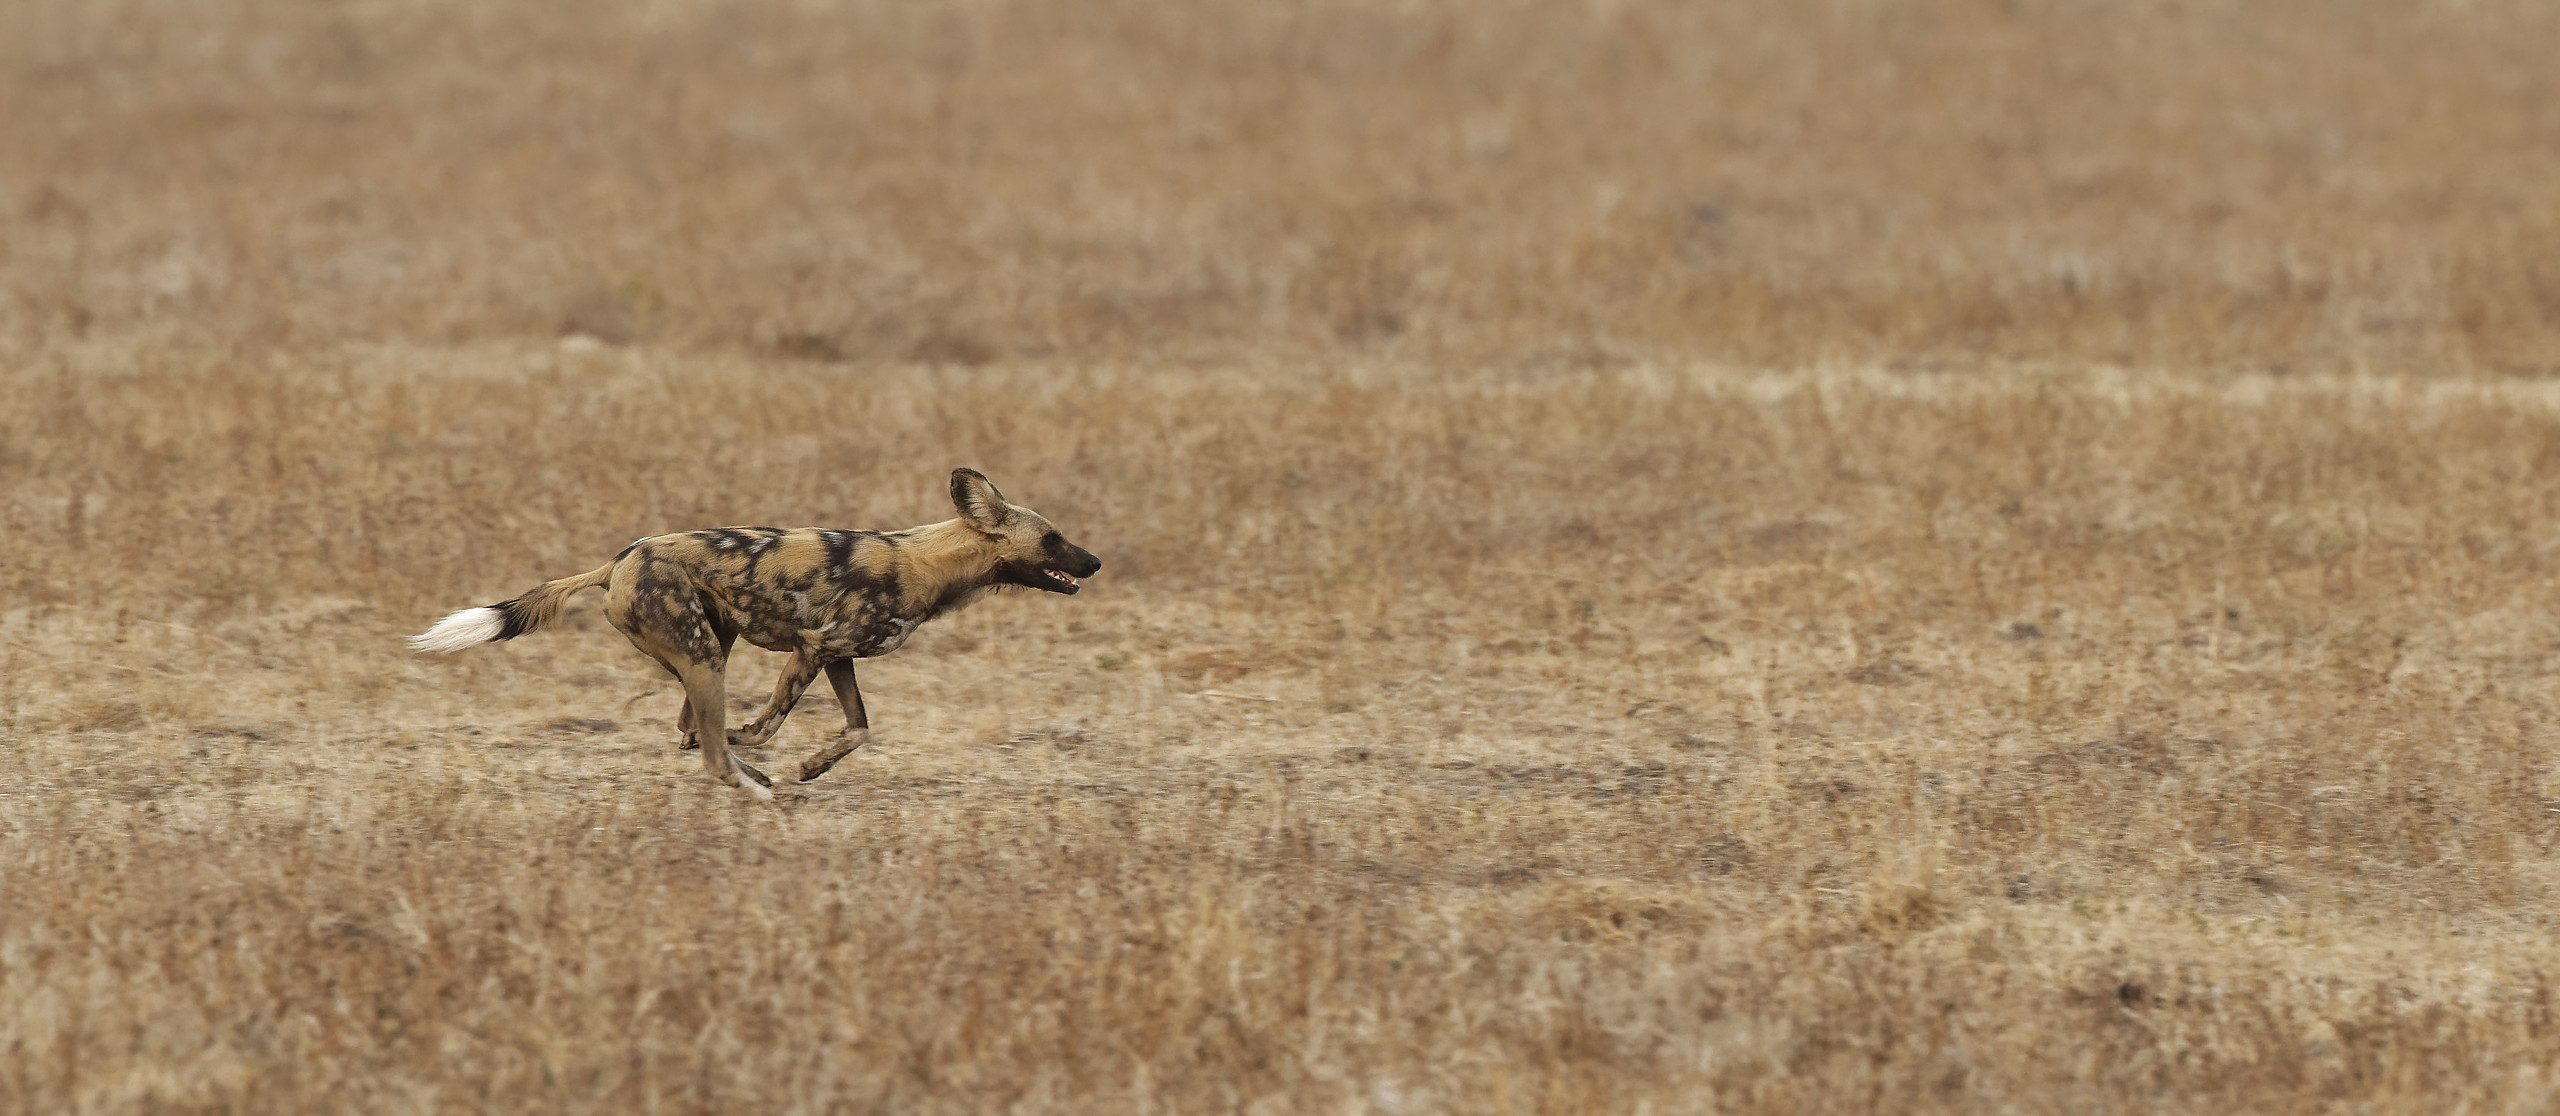
Wild dogs – Photos
In 2017, I was in Zambia (South Luanga) for a gorgeous safari tour. I was lucky enough to encounter a troup of wild dogs there. And they were nice enough to let us shoot photos, including a couple of successful hunts. Wild dogs of Zambia.
-
My post-processing tools
Years ago, I was using Adobe Bridge and Adobe Photoshop for nearly all my work. That was the obvious choice at the time, the software tools were reasonably priced. These were the “good old times”, no? Today, subscriptions are everywhere. You must pay by the month. But if you stop, you lose all your tool…
-
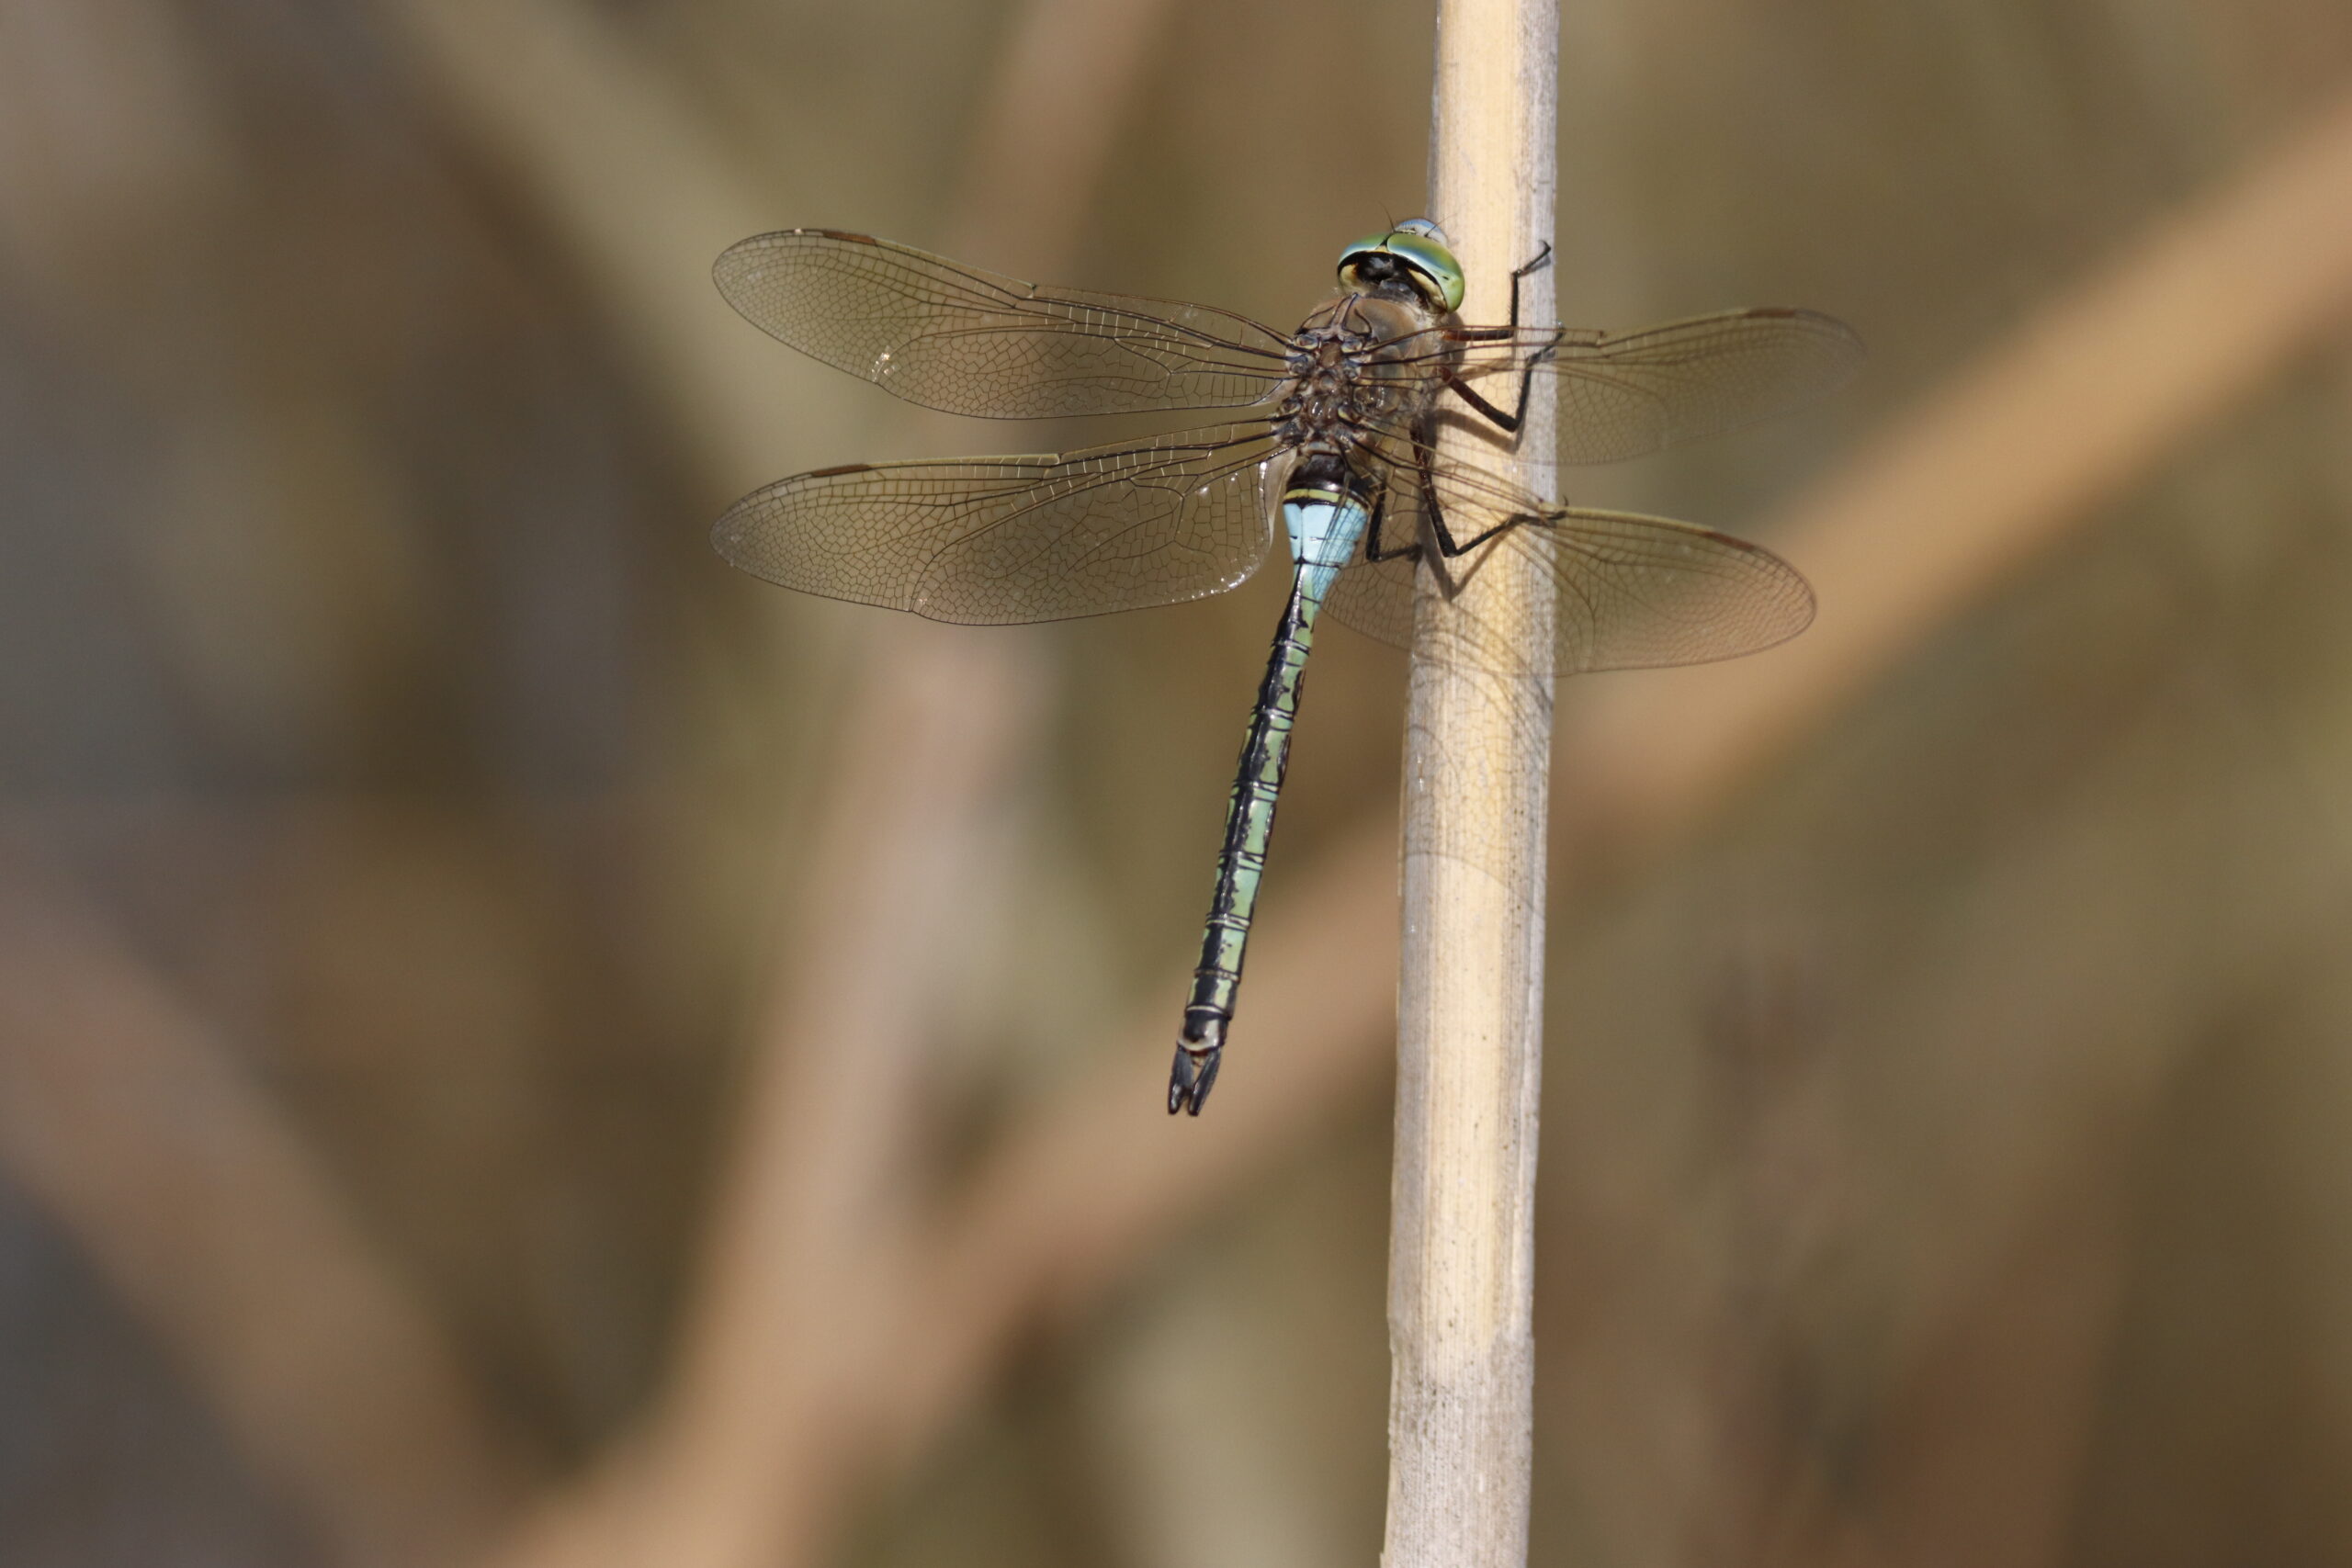
Technique: Multiflash lighting
Most studio photographers already know the lighting technique using several flashes. This is the basics for them. But when you talk to wildlife or nature photographers, flash is considered anathema. And who could dispute this? Using a flash set on top of the camera will immediately lead to flattening the model with a crude light.…
-
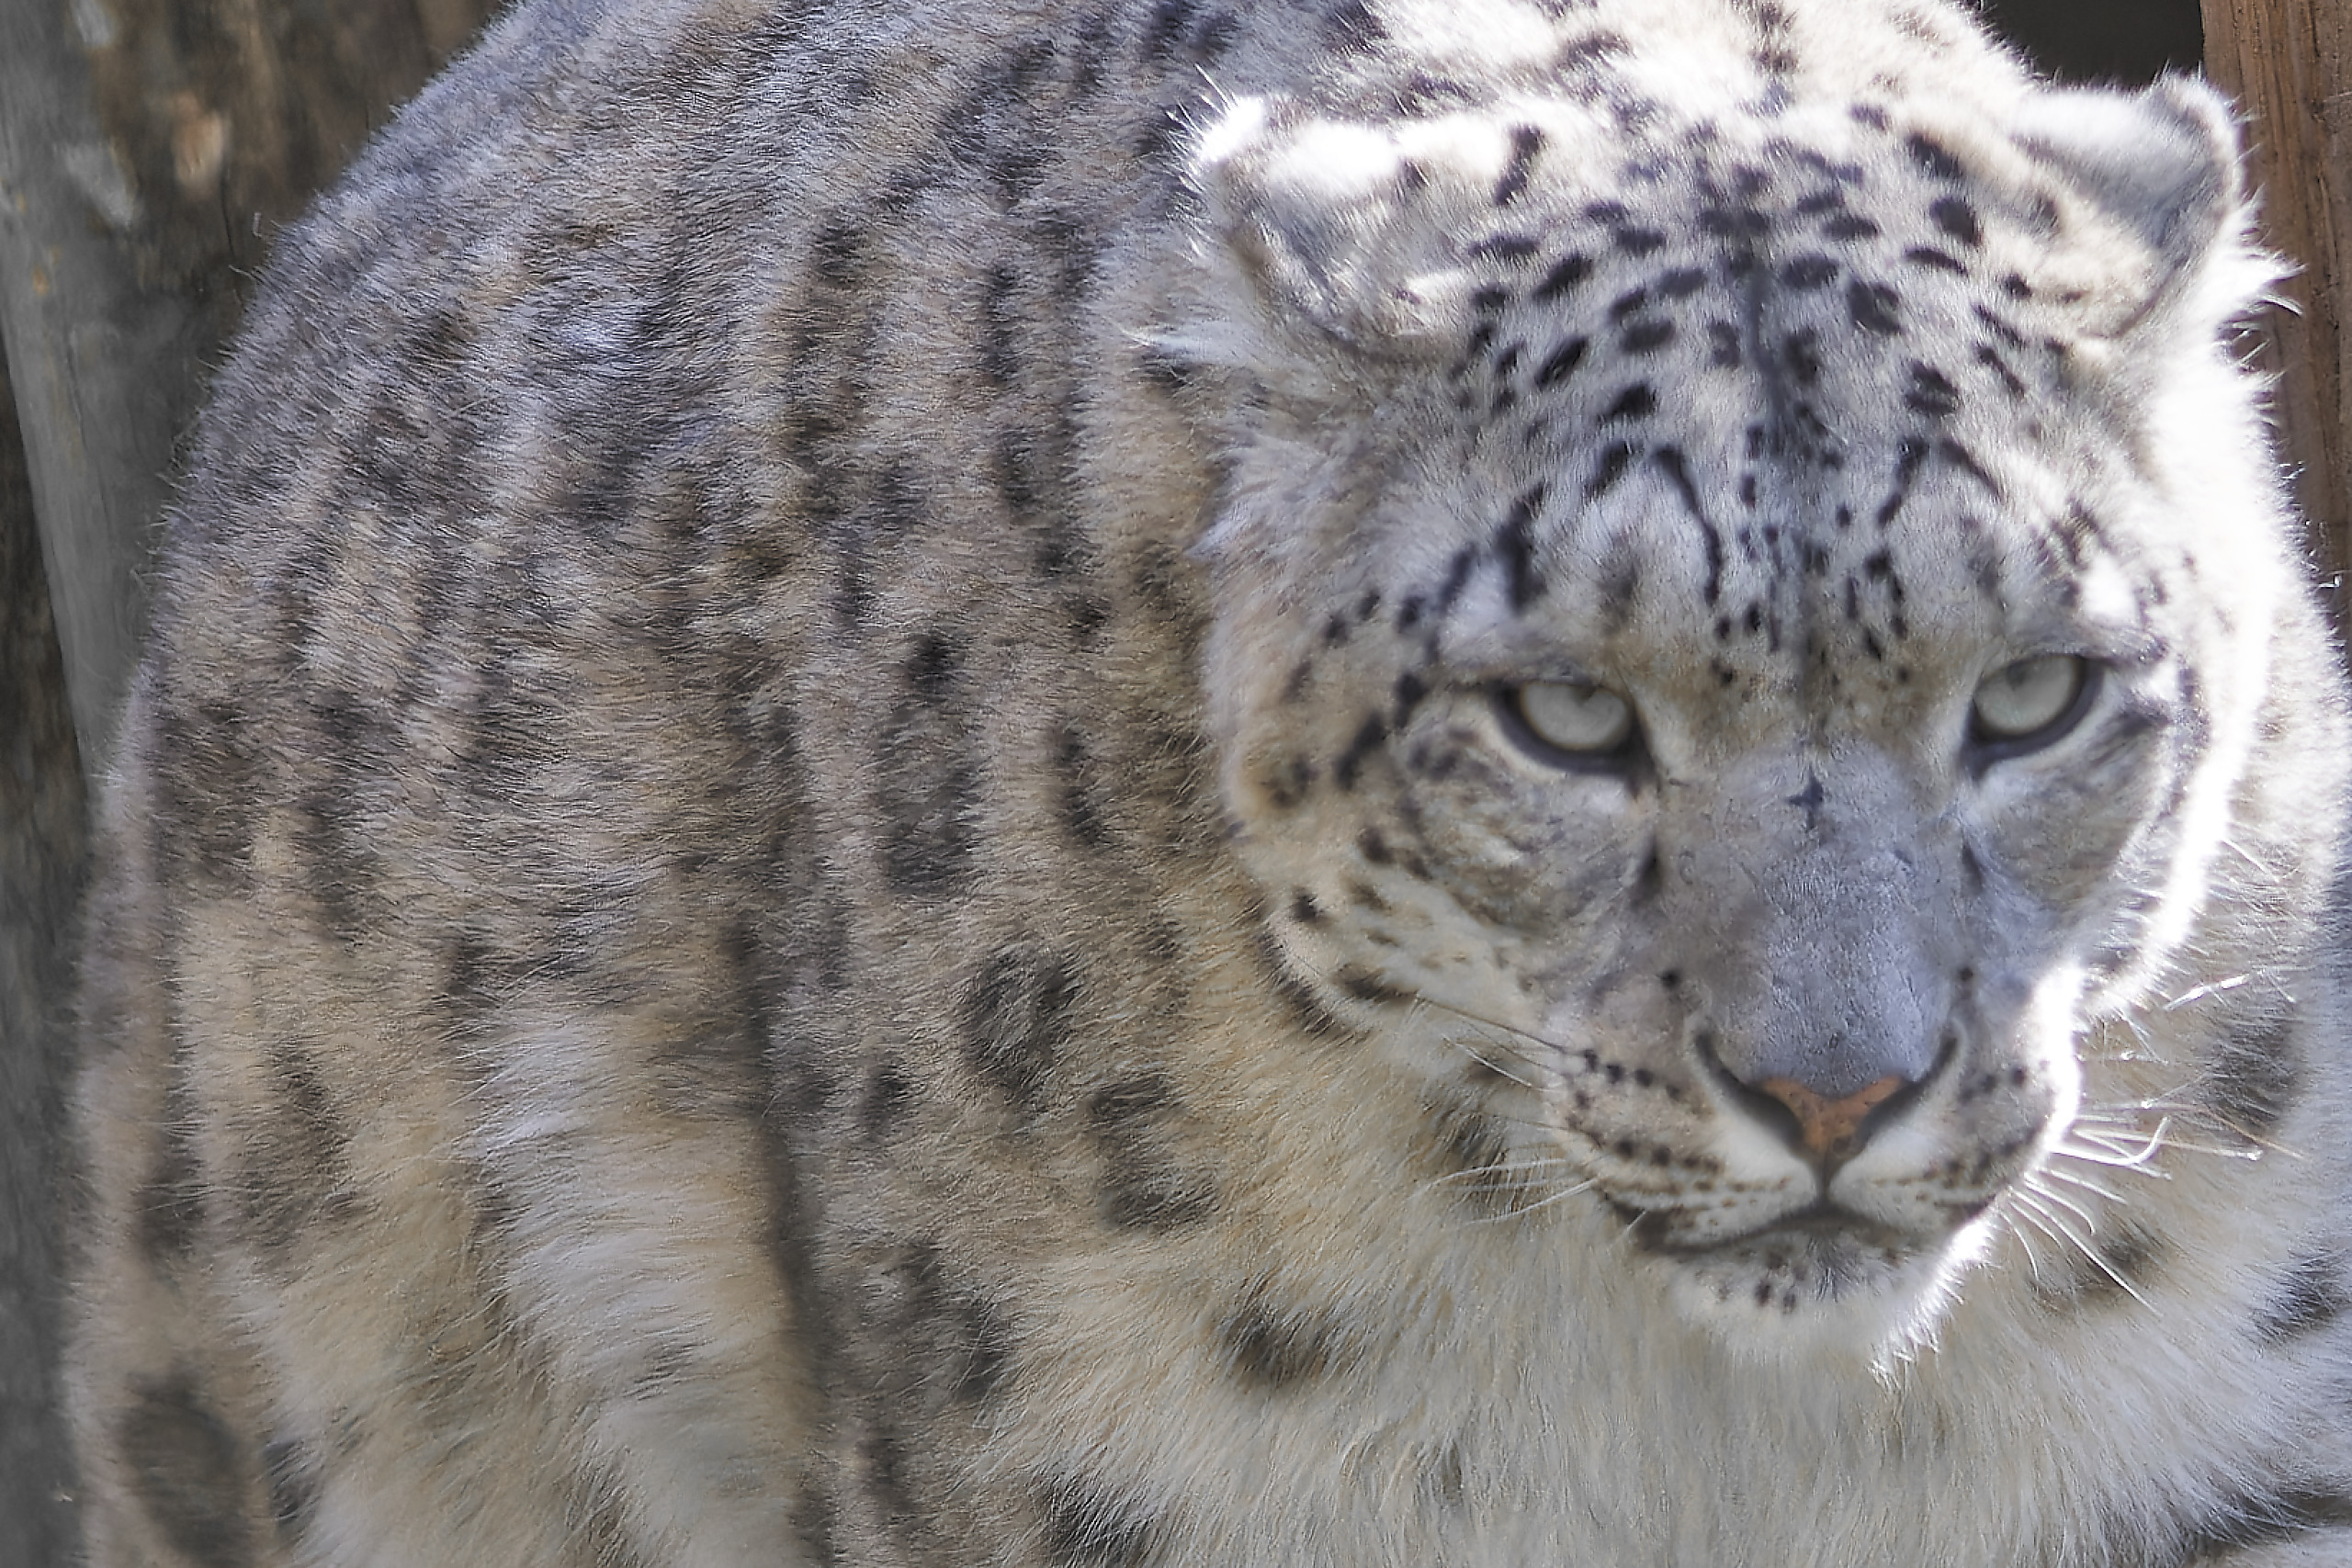
Safari trends: Snow leopard
If you are a wildlife photographer or a safari buff, you have heard (or you will soon hear) about the new destination where you will be able to find amazing big cats to photograph: Snow leopards, despite being on the brink of extinction and difficult to find, are becoming the new trend for photo safari.…
-

Ready-to-download Canon EOS R/RP manuals
Finally, Canon made the user manuals available to download for the Canon EOS R and Canon EOS RP full -frame mirrorless cameras. So, here they are ready for you, if this can help you reading them. Canon EOS RP Advanced User Guide (English) Canon EOS R Advanced User Guide (English) Canon EOS RP Guide d’utilisation…
-
My own photo portfolio
There, on my personal blog, I run a continuous stream of many of my newest photographs, as soon as they are available. But if I also try to group all the pictures I am most proud of. Let’s meet on: Wild Focus This is the web site of my portfolios. There, you will see the…
-

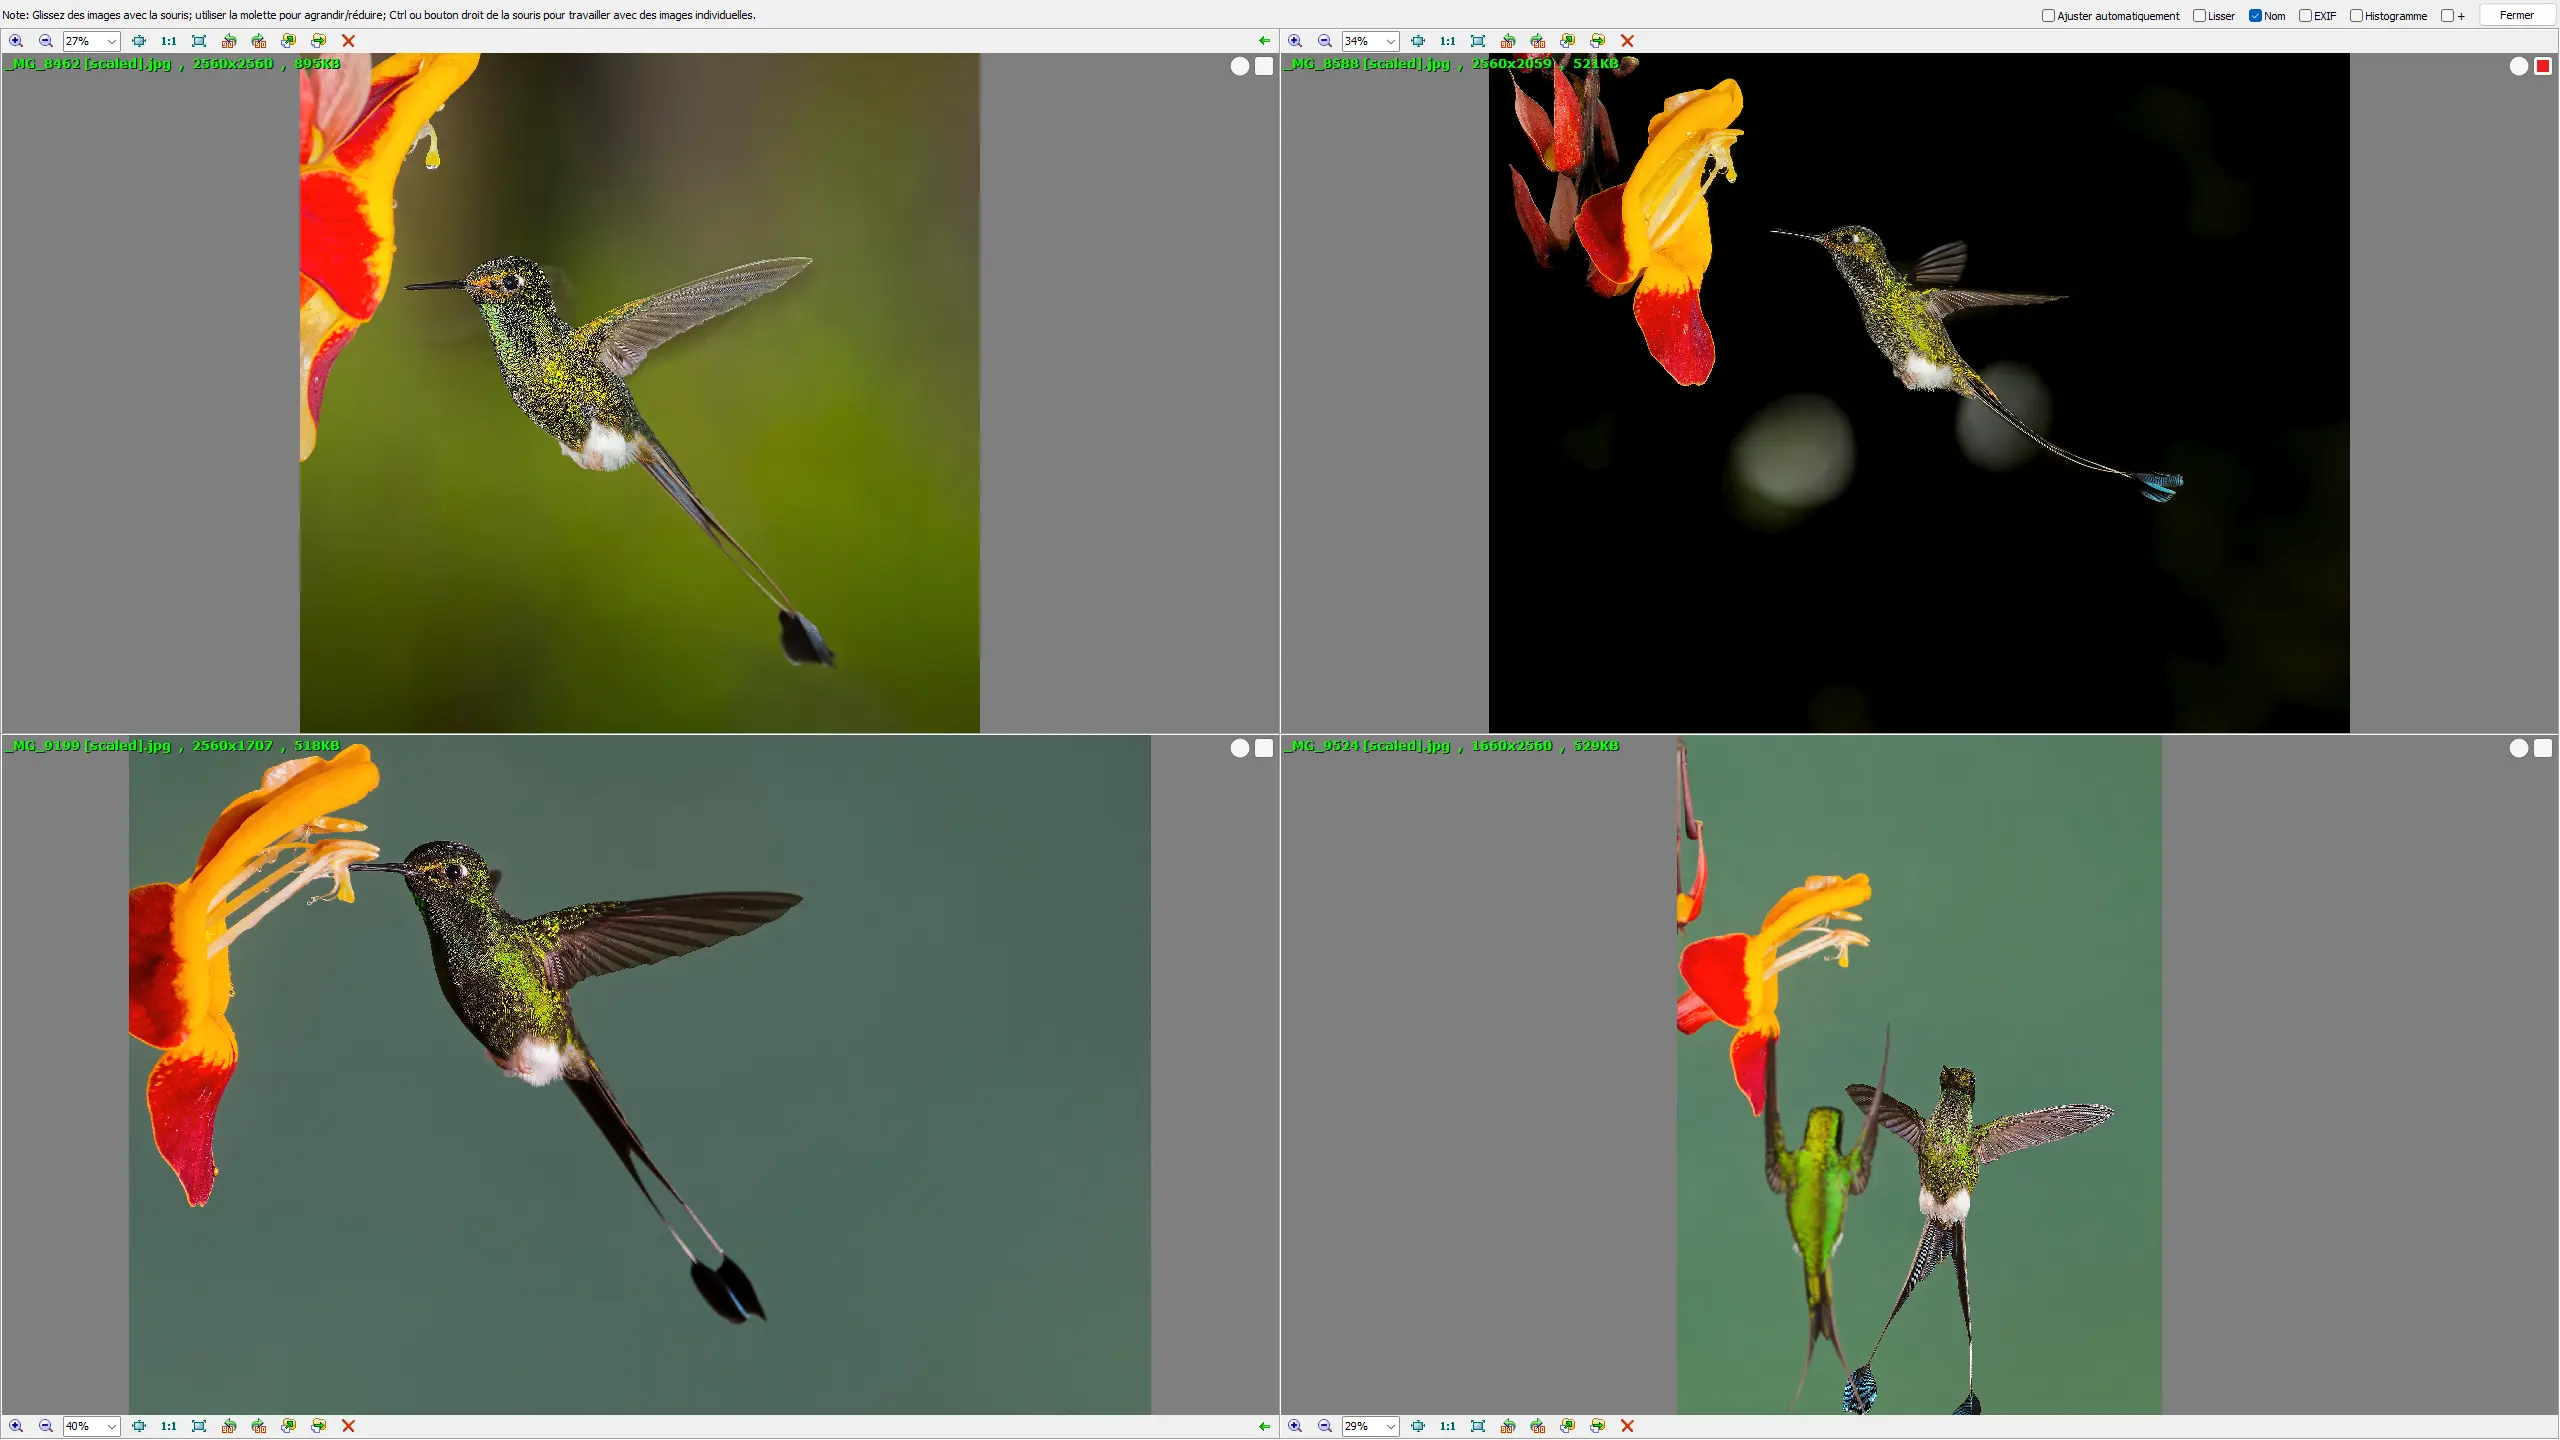
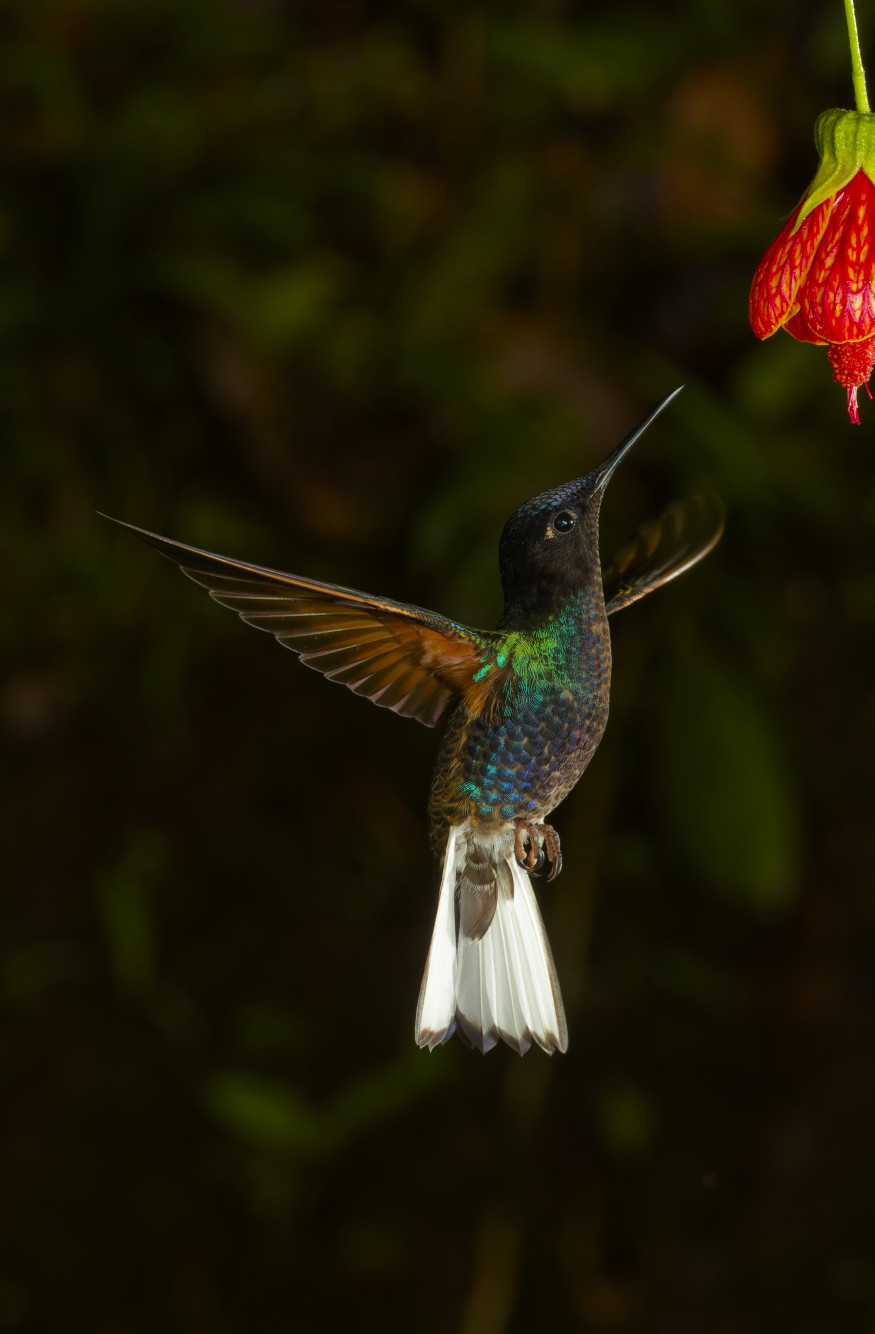
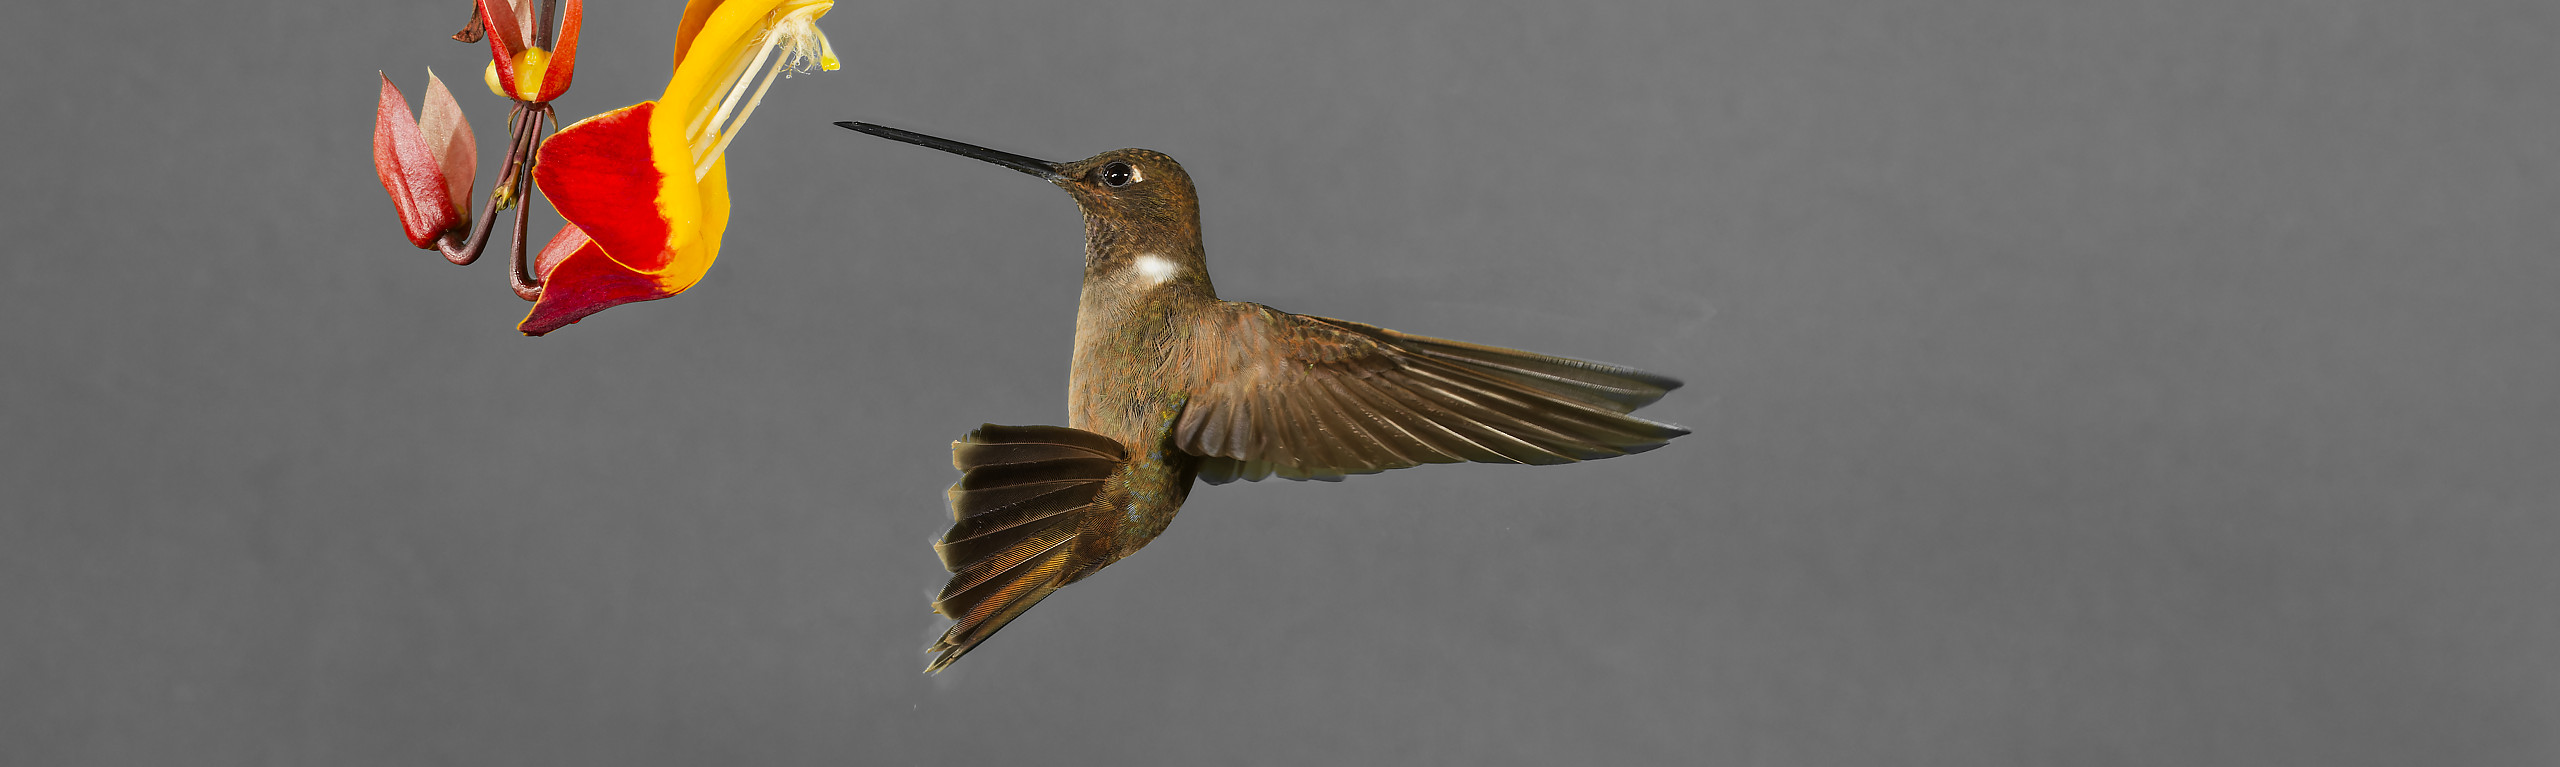
Macro photo for hummingbirds
I would like to propose an idea (and practical solutions) to reach an unusual technique for unusual photo subjects. We all know about wildlife photography. Most of us have seen nice pictures taken of hummingbirds (their colors are often impressive and changing with light). Most photographers will try and make good images of a flying…
-
Upscaling a photo with free AI
Problem statement Sometimes, I am somewhat dissatisfied with the size of my digital photographs. The simplest way to improve (after the fact) is to run any Photoshop-like program, and apply a resampling (resize) preferably with the Lanczos method, in order to get 2x or 3x or 4x more pixels. It is fast and efficient, but…
-
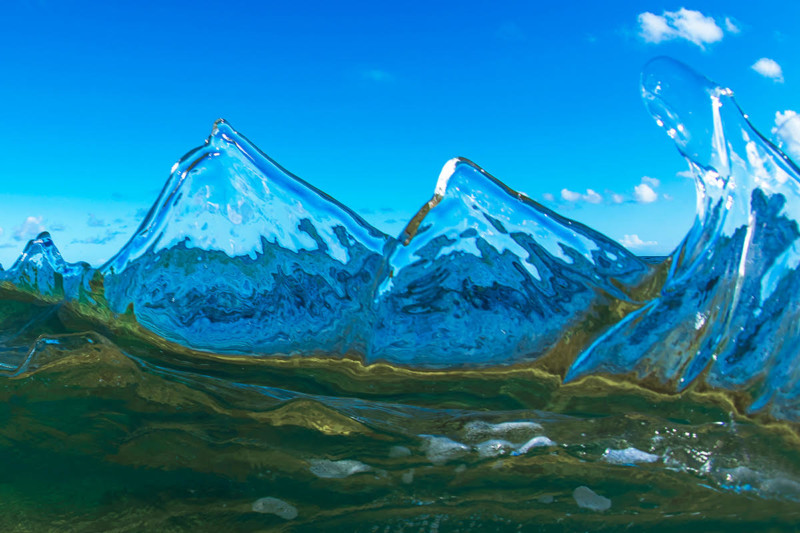
Some more waves
In a previous post here, I presented the wave photography done by Warren Keelan and Rachael Talibart. Since this is still a very attractive subject, and while I found some more aboutit, I want to share a couple of links with you. The Art of Waves: A Lifetime of Awe-Inspiring Surf Photographs talks about the…