Returning from Botswana, I started to publish a few of the good pictures I shot in May 2010 while on a photo safari trip. If you are interested, you will find these images on my personal web site and some of them on sale at RedBubble.com. New photos will keep appearing on a daily basis, at least during all June 2010.
In parallel, I had been asked to describe my photographic workflow and the preparation of these photos from Botswana is a good opportunity to go and check this together.
The first thing I should mention is that I am using Adobe Photoshop CS3 (I did not jump to CS4 because of the price, because I did not seem to find the new features attractive enough and because Adobe Camera Raw was already compatible with my own Sony Alpha 700 RAW files).
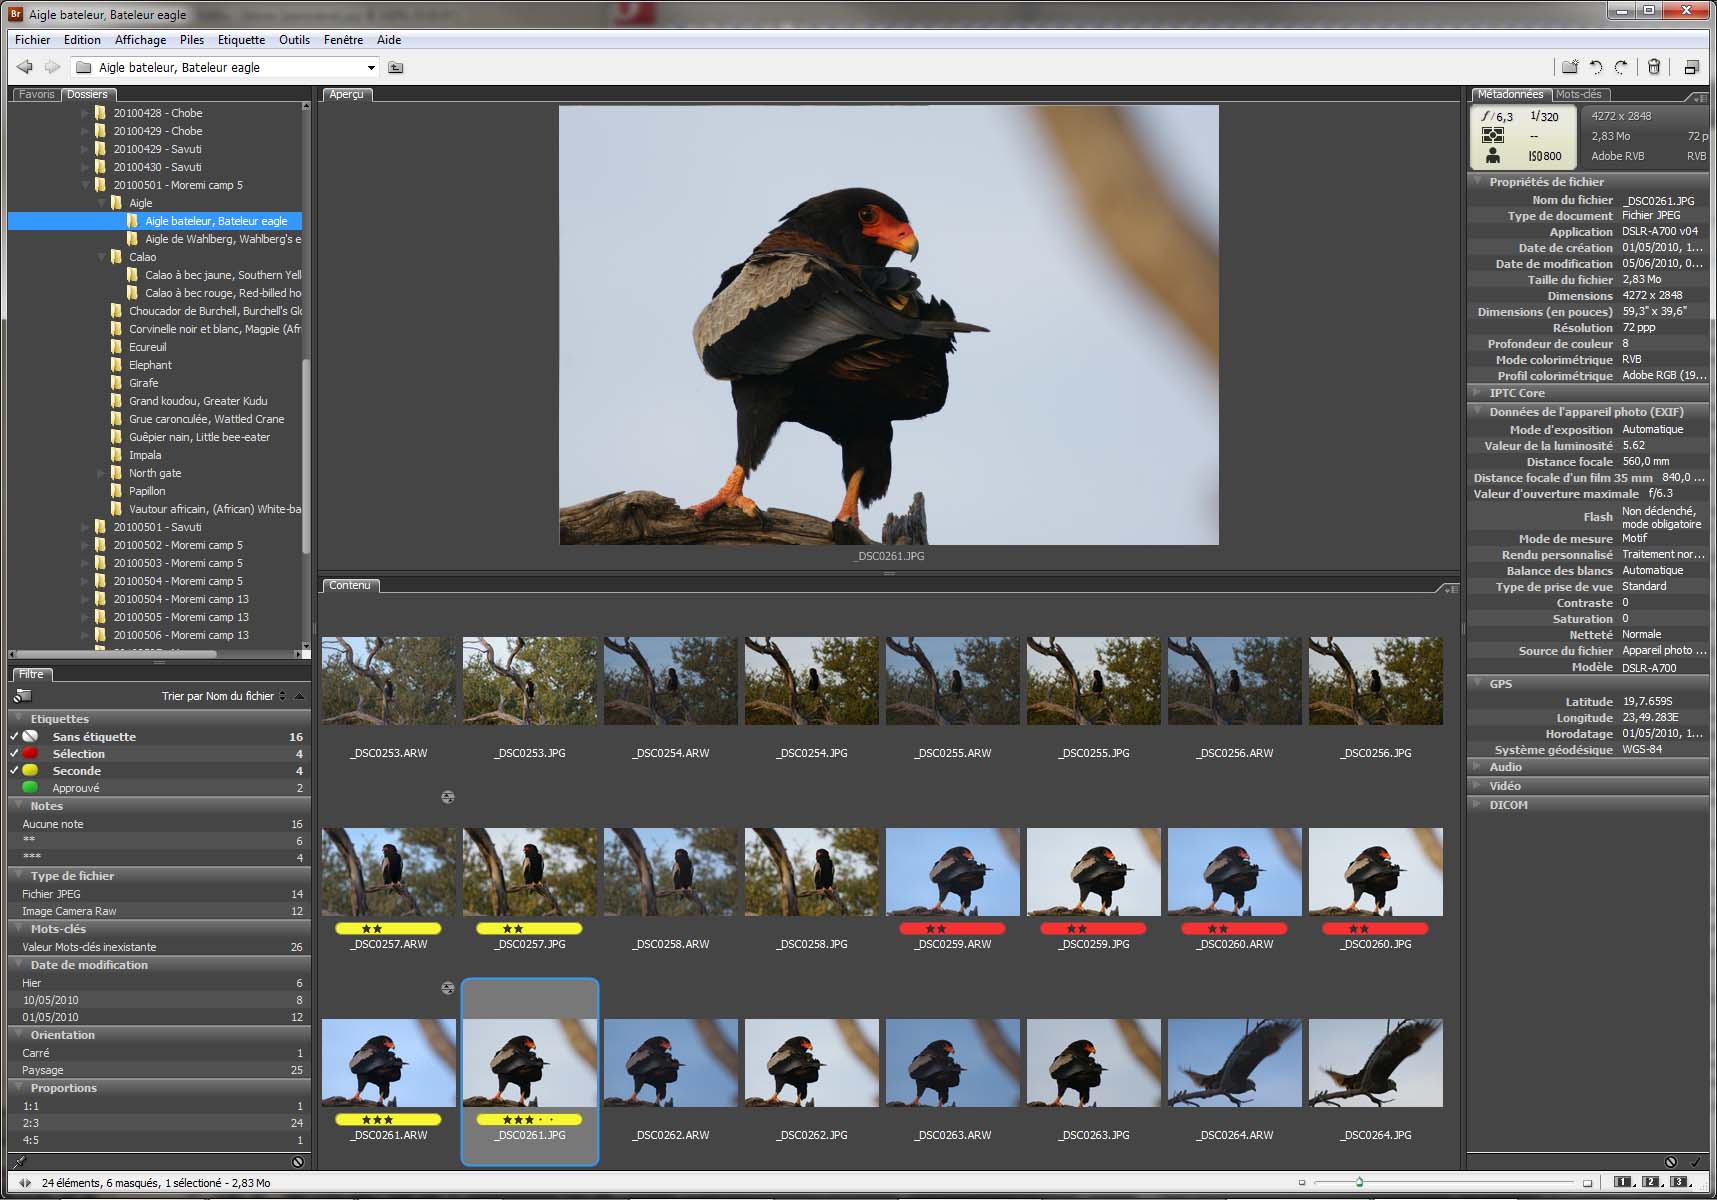
Mostly, I start with a rough selection from Adobe Bridge. There, I will group images by subject (in the example below, the Bateleur Eagles pictures I shot on May 1st) to get relatively consistent sets of pictures.

Notice: As you can see, there is a full set of pictures that I did not select at all (the eagle is too small). They exemplify the approach I often have with animals: Shoot the first pictures while you can, then move up for a better one. Repeat as much as possible, until the animal would be frightened or the picture is OK.
There, I will do a first quick pass rejecting all impossible-to-correct defects (blurred image, the animal flew out of the frame, the subject is unclear or confused) and make a first selection labeled as such in Bridge (Ctrl-6). Often, there will be several shots of the same scene with nearly identical features, but I will not look into this right now.
This will be the basis for a second selection (Ctrl-7) where I will check in the details of each picture to make certain that the focus is as good as possible, there is no unwanted blur, the contrast is workable, the exposure is adequate, the details are OK (the light is shining in the eye of the bird or the animal, the attitude is pleasant) and I will try to select the best shot in a continuous burst (best attitude and best focus are the most important features here: A single move of the bird will change everything). This leads to a “feature evaluation” based upon my ALCID set of rules that will lead to an Adobe Bridge ranking from 1 star (Ctrl-1) to 5 stars (Ctrl-5).
Then, I will leave it in this state for a while. I need to give time for a second chance.
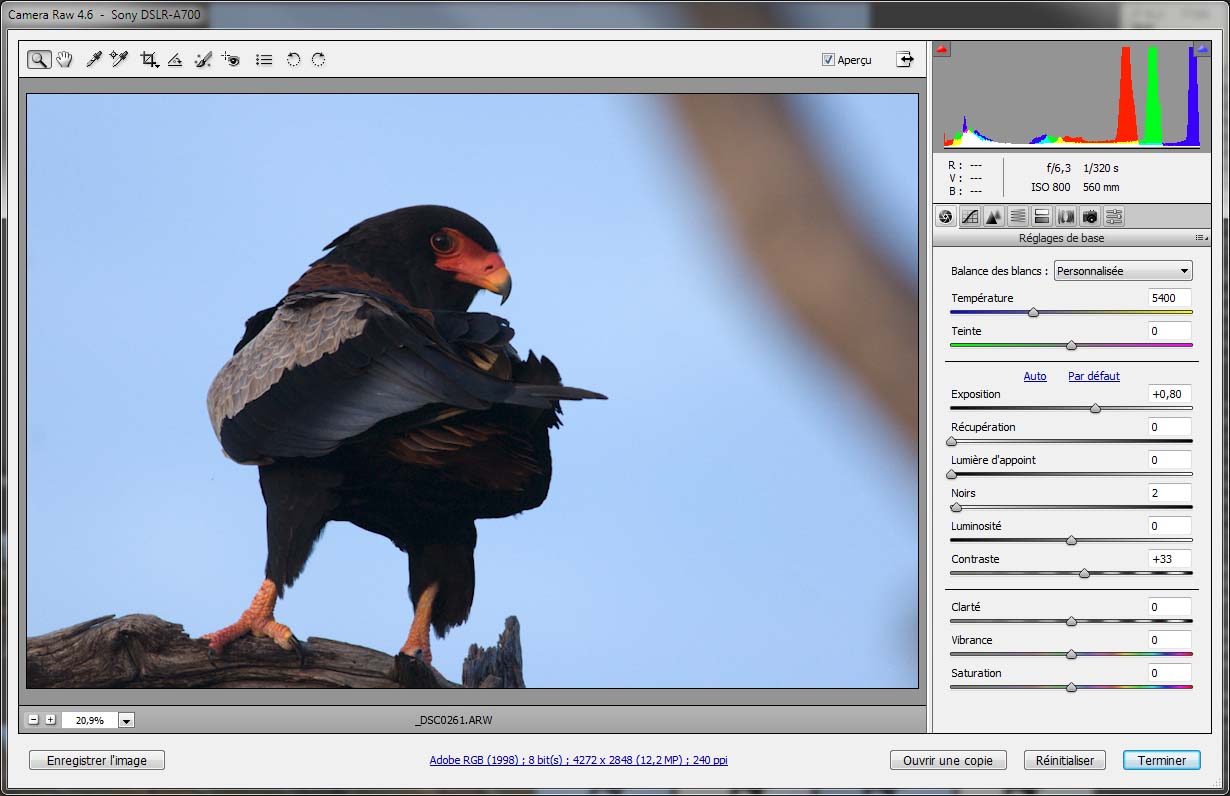
When I come back to the image set, I will concentrate on the best images and start working them with Adobe Camera Raw (even for JPEG files, its flexibility is enormous and will help a lot to expose correctly the final photograph). Usually, I start by setting exposure to maximize highlights (using the histogram view, I push the highlights as far to the right as possible without letting it blow out of limits). Then, I will correct blacks the same way (on the left of the histogram view). Last, I will check if contrast needs to be adjusted slightly or color can be toned down or up with vibrance.

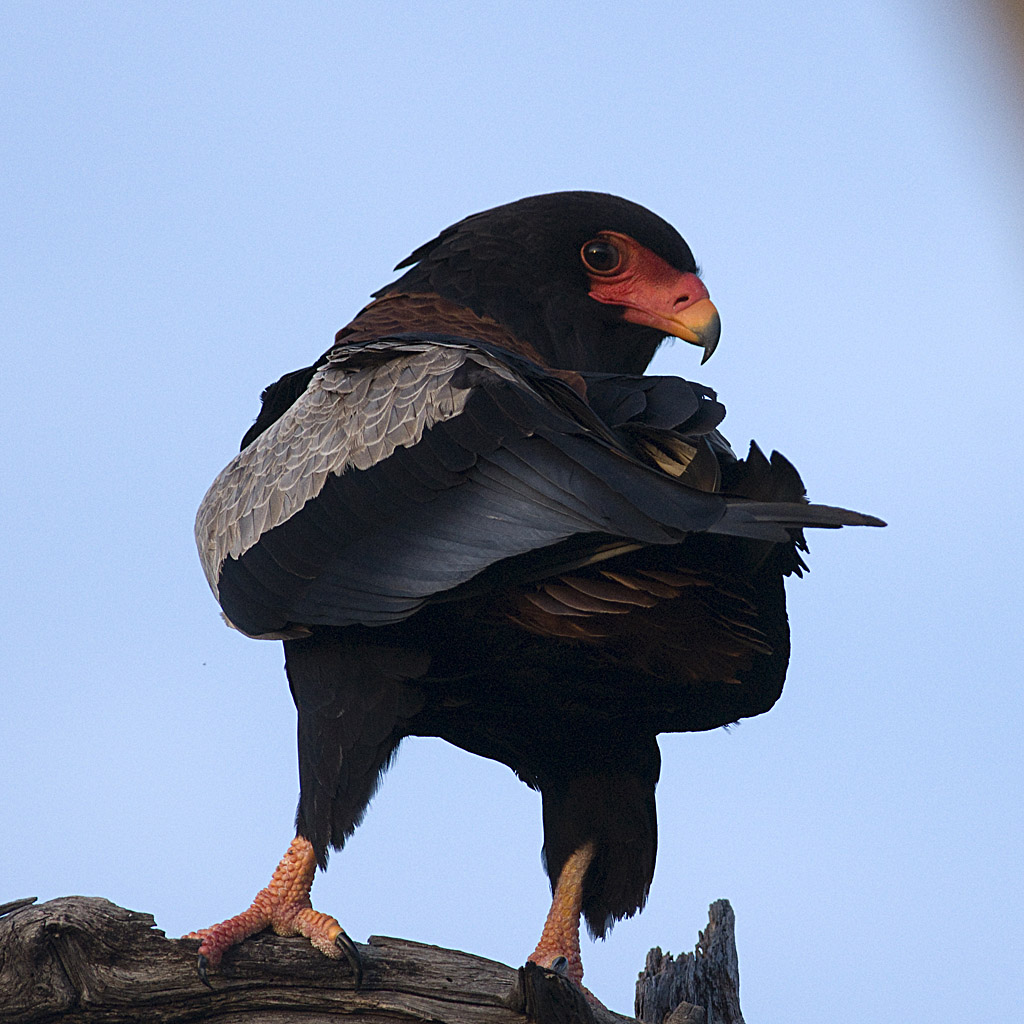
Then, I open the image in Photoshop where I will correct the frame (in the example below, I removed a significant part of the frame because I wanted a square frame to enhance the impression of strength given by the Bateleur Eagle looking back at me) and I work on the slight details improvements (removal of a speck of dust, overall sharpening or softening).
In the end, the image is ready to be saved in JPEG (maximum quality) or TIFF format. Once in the largest size for posters and prints, once for web distribution (in a much smaller file size).

The web gallery where I sell prints of my photographs: http://roumazeilles.redbubble.com/works from US$2.39.
Comments
2 responses to “A photographic workflow with Photoshop”
I found a nice article by Mike Panic in Light stalking: A Beginner’s Guide to Photographic Workflow.
A slightly different (but simple) approach to photo workflow.
Once again, a good source of inspiration to complement the post itself. More than a workflow, Steward Randall gives us hints at what makes a speedy workflow.