If you want to get an HDR (High Dynamic Range) aspect to your photos but do not want to spend the effort of taking multiple picture and combining them together, there is a free solution: Fake it! Forget all the hassle and apply the right image transformations to obtain a picture with all the features of an extravagant HDR photo with the pain.
Here is the application with a rather dull image taken from the back of La Défense in Paris.
1st solution: Photoshop
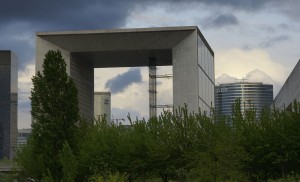
Let’s start preparing the picture with Image > Adjustment > Shadow/highlight.... We’ll start with quite heavy settings! Shadows: amount:50%, tonal width:45%, radius:44px ; Highlights: amount:67%, tonal width:65%, radius:46px ; Adjustments: color correction:+20, midtone contrast:0, black clip:0,01%, white clip:0,01%.
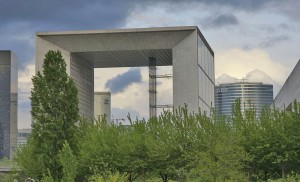
You have one heavily modified “base” layer. Duplicate it and select an interaction of color dodge. Highlights are burnt and totally white. But the colours have been hightened.
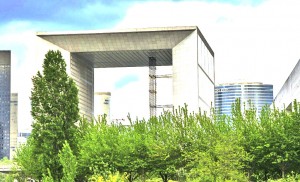
Do the duplicate dance again, but with an interaction of linear burn. Now, there is too much black. Set black as foreground color, then Select > color range... and apply a fuzziness of 100. Now add a new layer mask using the little icon with a circle in a rectangle at the bottom of the layers box.
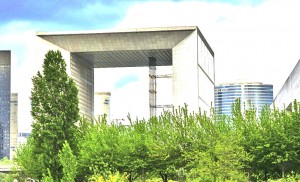
Now, duplicate it again, but with an interaction of Overlay. Press Ctrl-I. You can start playing with the opacity of the last two layers, preferably 40% for “overlay” and 60% for “linear burn”.
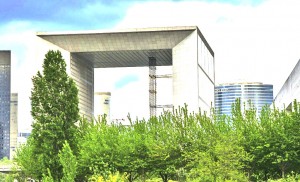
Set white as foreground color, then Select > color range... and apply a fuzziness of 100. Select the “base” layer, duplicate it, and move it up the list of layers. Again, use the icon to add a layer mask. You may want to apply a Gaussian blur with Filter > Attenuation > gaussian blur... with a radius of 2. This step is giving the kind of halo that is most visible in most HDR images, so choose the adequate radius value for your image.
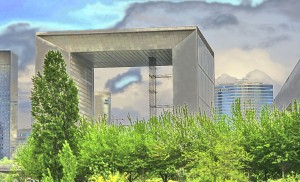
last step could be to correct the always-possible color shift (or to create one) by adding an adjustment layer (using the black-and-white circle icon), option color balance.... But it is not often needed:
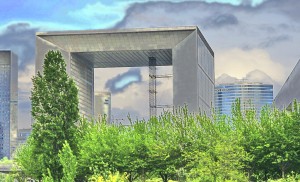
Source: a now-closed web site at www.hdrphotos.net.
2nd solution: The Gimp
Using The Gimp, you may use directly the plugin from Gimpology.com. It’s propably a little less extreme than my prefered solution.
3rd solution: Photoshop tutorial
I found another Photoshop tutorial on the web at Various Photography Thoughts.
Final Note
CreateHDR which is supposed to do all this for free and online does not seem to work anymore, except -sometimes- for very small pictures. Did they have too much success?
Comments
2 responses to “False HDR for free”
I have found that Photomatix also has a pseudo-HDR (as they call it) capability. You just need to open one single photo file instead of three, and this one has to be in raw format. It is sometimes very convenient when you want to try an HDR enhancement after a shooting session and you did not prepare the 3 pictures. Sometimes it is the only way to do HDR, e.g. when the scene is not static.
I think Photomatix is the best in class for this, and outperforms the full featured image manipulation software, with an extreme simplicity.
There is even a small tutorial to use this Photomatix feature (in video).
Tutoriel HDR Photomatix (Francais)
envoyé par cmoeu