Tag: tip
-

World Backup Day 2017
Sometimes, one wonders whether it is still necessary to repeat it, but it is important (No! critical) to backup digital data as soon as we approach our first computer. Worse, for a (digital) photographer, it’s now critical. Don’t we all have lost already one or more images because of a hard disk crash, a capricious…
-
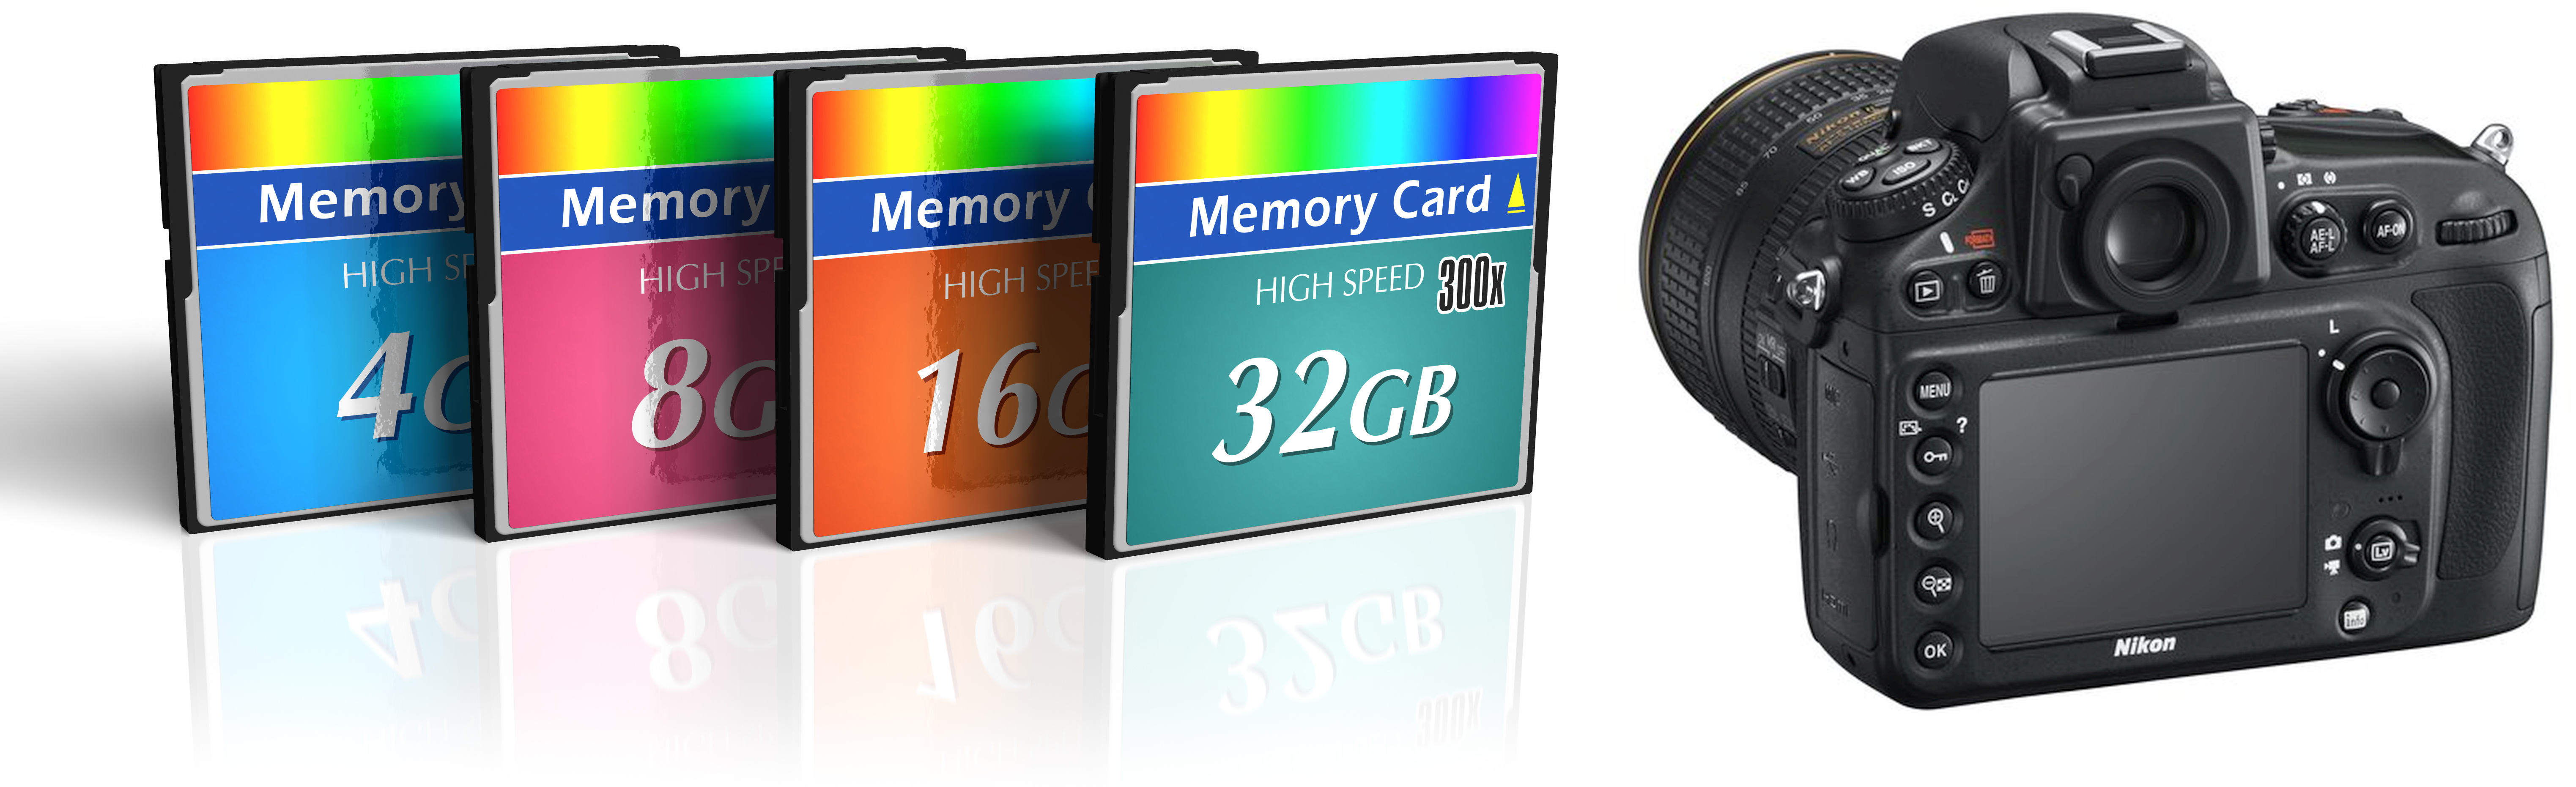
No more lost memory cards (Tip)
My personal prophylactics in order to avoid loosing memory cards and photos on memory cards: Always format the memory card in-camera (formatting on a computer may not be right for your camera, same thing about formatting on another camera) Always wait 3 seconds before ejecting the memroy card (or check the red LED flashing on…
-

Pre-flight checklist for photographers
Travelling for photography is an activity loaded with stresses and constraints of all kinds. Much more so than if you merely go and shoot street photography downtown. All the more if this includes at least one flight to destination. Pros and those who did suffer a lot from these situations collected enough experience to build…
-
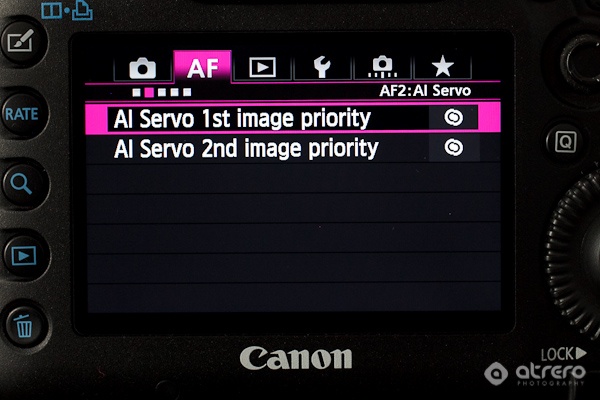
Autofocusing guides
What could be more frustrating that holding a DLSR camera worth thousands of bucks and not being able to focus on the subject in front of you? So, I collected a few excellent guides or tutorials which provide good summaries (I think) of the possibilities of these cameras when it comes to autofocus or AF.…
-
Top 6 tips for autumn fog
Fall is coming back. The attentive photographer will remember that it’s time to start expecting mist and fog. These are creating excellent conditions for interesting photographs. When? Fog does not appear in any weather conditions but it is relatively predictable. More or less, for a misty morning, you will need to have a relatively warm…
-
Fireworks: The 10 best tips
Summer is coming and the 4th of July celebrations (in the US, of course) are upon us. This means that we will have the opportunity to shoot fireworks, this ever-wonderful show. Usually, we will get only a few minutes to shoot and we don’t want to wait until next year for another opportunity. So, here…
-

5 tips for concert photography (and more)
This month, YLovePhoto will try an help in shooting photos where many think that only a pro can succeed: A live music concert. This is where many a difficulty converge to make the work of the photographer more painful. However, experience shows that a few tips (Y-tips, of course) will help a lot. Most of…
-
GIMP links are back
After a long absence when we collected a few GIMP-related links but we did not publish them, here is a new list of useful tutorials and tricks for the users of GIMP the GNU-Linux and Windows-based photo edition software. GIMP still being free, these free resources are all the more welcome: photo credit: andyspictures 60+…
-
Car races: The 7 best tips
Once again, YLovePhoto is here to offer its advice to optimize our photographs in the most varied environments. Car racing (or motorcycle racing) is assuredly a favorite spot for photographing an exceptional subject: bright colors, shiny metal, technical expertise, intense concentration around competition, everything is present. So, here are a few tips to start motor…